

Using the API to interact with git for project versioning#
Prerequisites#
Dataiku >= 12.4.2
Access to a Dataiku instance with a personal API Key
- Access to an existing project with the following permissions:
“Read project content”
“Write project content”
Access to an external git repository with necessary authentication
Introduction#
The git integration allows you to perform versioning in Dataiku directly in your IDE using the API client. This tutorial presents a day-to-day use case using git and project variables.
You will use the Variable for Coders starter project as a starting template. Its associated tutorial provides a set of steps implemented via the UI. This complementary tutorial shows the feasibility of using only code from outside Dataiku to interact with the platform.
Note
All steps in this tutorial that require code and API usage can be performed within Dataiku using one of the hosted notebooks. For clarity and clarification, most of the steps and code will assume you are interacting with the platform from an external IDE.
Connecting to the instance#
A tutorial on connecting to the instance is already available here but to quickly start, here is the code:
Refresher - connecting to the instance
import dataiku

DATAIKU_HOST = ""  # Fill in your Dataiku instance's URL
API_KEY = "" # Fill in your personal API key to access that instance

# connect to your instance
dataiku.set_remote_dss(f"http://{DATAIKU_HOST}", API_KEY)
client = dataiku.api_client()

# list all the projects of the instance
project_keys = client.list_project_keys()
print(f"N-projects on instance: {len(project_keys)}")
Managing the repository#
The first step is to interact with the project via a handle.
# work with a specific sample project
PROJECT_KEY = "DKU_TUT_VARCOD"
project = client.get_project(PROJECT_KEY)
Next, manage the project git to target the remote repository. Please note that you will use the SSH address instead of the URL to connect.
USERNAME = "" # Fill in your username
REPO = "" # Fill in your repo

# get the project git!
project_git = project.get_project_git()

# .. and set the remote
project_git.set_remote(f"{USERNAME}@{REPO}:{PROJECT_KEY}")
If the project is already associated with a remote repository, you can show its address using the get_remote() method.
# create a new branch
project_git.create_branch('definitely-not-master')
project_git.checkout('definitely-not-master')
You have now created your working branch, on which changes will be tracked.
If they exist, list_branches() allows you to check the other branches of the repository.
Making unit changes to and using code#
Add project variables#
Next, you’ll replicate the steps of this section of the original tutorial.
# add these variables
project.update_variables({
   "country_name": "Germany",
   "merchant_url": "lidl"})
Update the project variables using the update_variables() method.
It takes a dictionary of variable names and their new values.
The code adds two variables: country_name and merchant_url.
You can retrieve these stored variables using the get_variables() method.
Edit code recipe#
Now, you’ll implement the next part of the other tutorial, editing the recipe to incorporate these variables.
These new lines will switch the hardcoded United States with the country_name variable.
country_name = dataiku.get_variables()["country_name"]
df_filtered = df[df['MerchantIP_country'] == country_name]
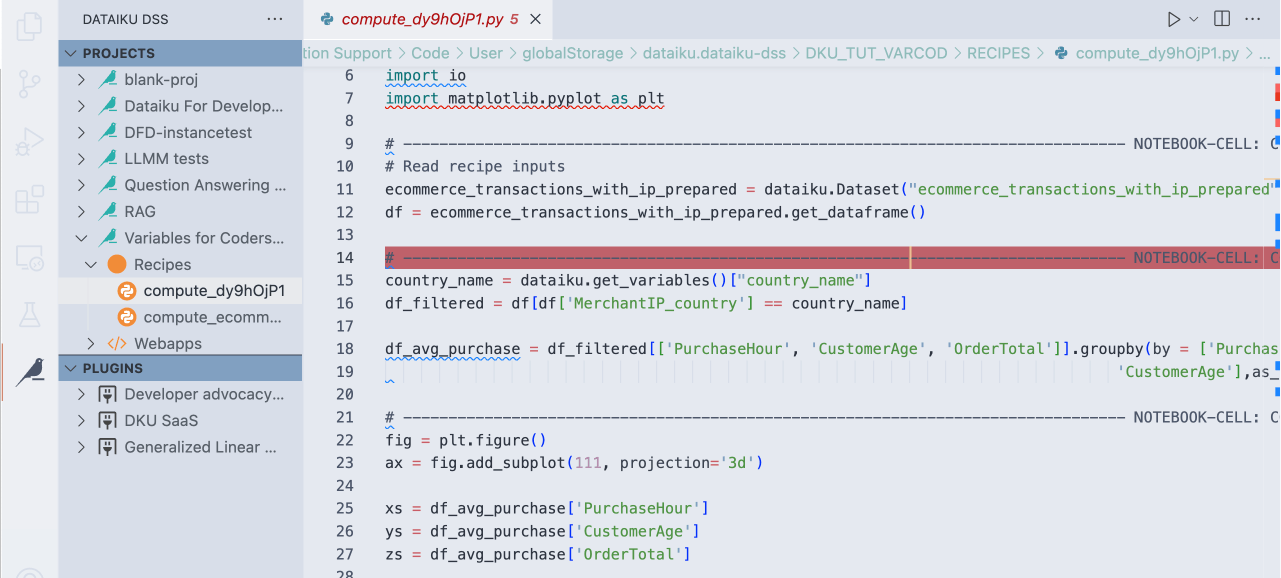
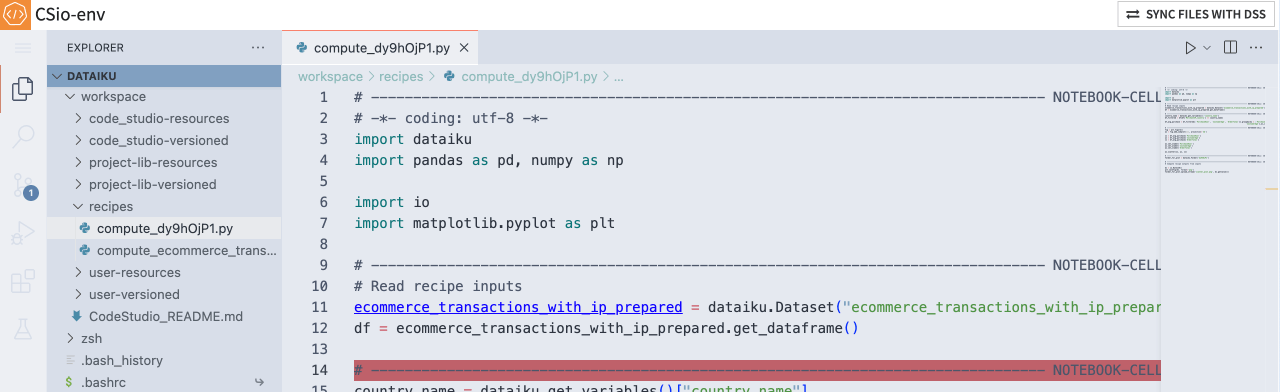
The recipe that needs editing is called compute_dy9hOjP1. To access the project’s recipes from an IDE, you could use the
Dataiku VSCode extension or a Code Studio instance to get a VSCode-like experience. You can also update the recipe from the Dataiku UI, for example, using a Jupyter notebook.
Publishing changes#
Once the changes are made, you can get the branch’s status, make commits and push these changes.
project_git.get_status()
project_git.commit(message="add project vars")
project_git.push()
Note
Dataiku enables auto-commit as the default commit-tracking behavior.
Hence, if you’ve made changes via the UI, you only have to push() at the end.
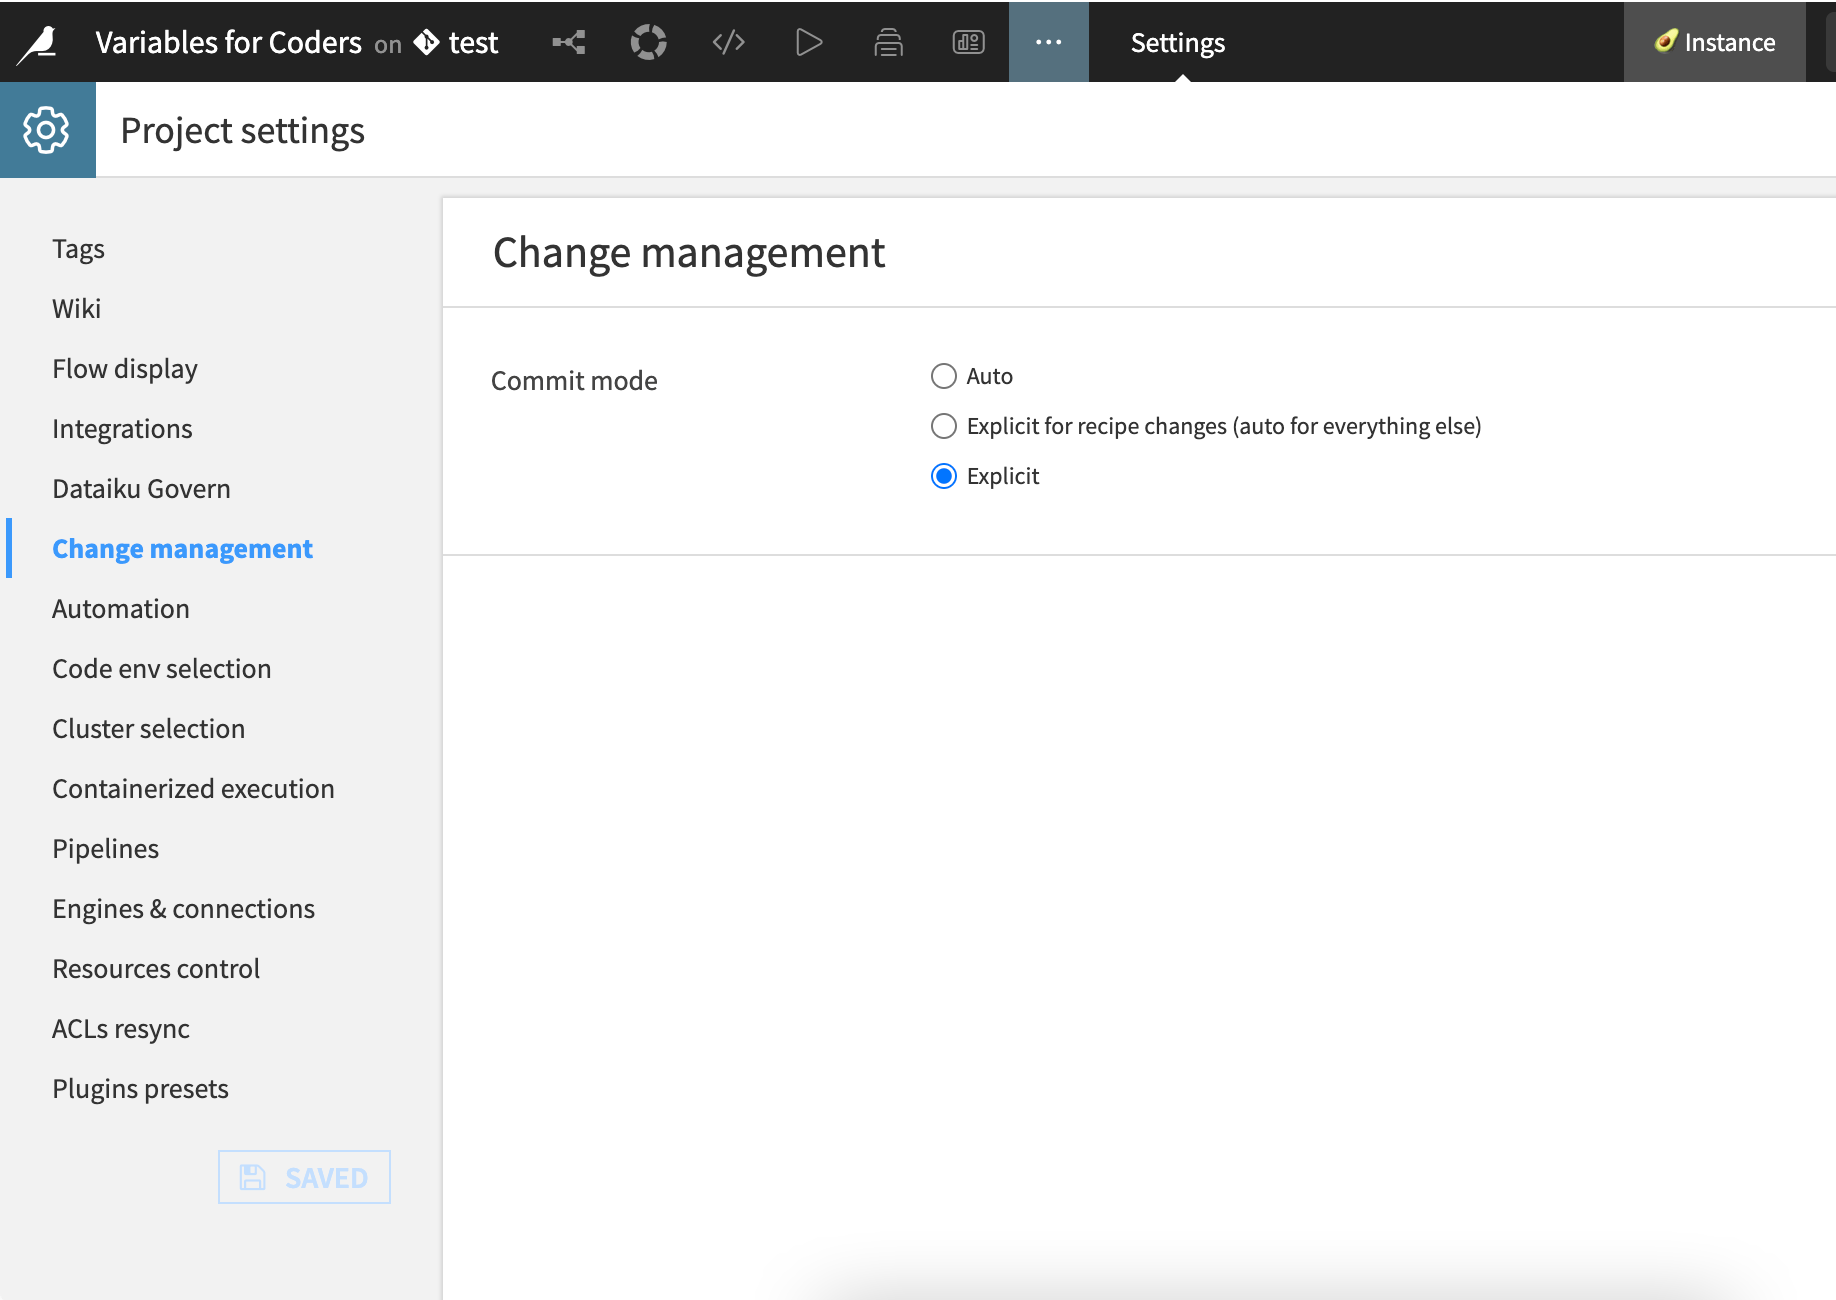
If you wish to make your commits manually, you can switch to Explicit mode under Settings > Change Management > Commit mode.
The commit() function already includes git add,
so files marked as untracked in get_status() are always included in the commit.
Adapting to organizational processes#
Git in workflows#
Various organizations have unique ways of working with projects in Dataiku and with git. Some might require version control systems to track changes, while others might need approval processes before changes are implemented. These git-related APIs can help accommodate your ways of working within the platform to meet these needs.
When changes are made to a project and pushed to a remote repository, you can retrieve the new branches and the content of your working branch using:
project_git.fetch()
project_git.pull()
Implement a review process#
Once branch development finishes, you might need to use standard review processes to validate the changes. Often, this involves having changes reviewed and approved by others. Using these APIs, you can use your IDE to connect to your instance and make unit changes in projects to code and code-like assets. Minor changes can often be easier to review and approve.
Wrapping up#
This is an example of a version control workflow using the project git APIs. It demonstrates the first step towards programmatically interacting with and modifying Dataiku projects, enabling further automation and scaling.
Complete code#
Code 1: Complete API client code
import dataiku

DATAIKU_HOST = ""  # Fill in your Dataiku instance's URL
API_KEY = "" # Fill in your personal API key to access that instance

# connect to your instance
dataiku.set_remote_dss(f"http://{DATAIKU_HOST}", API_KEY)
client = dataiku.api_client()

# list all the projects of the instance
project_keys = client.list_project_keys()
print(f"N-projects on instance: {len(project_keys)}")

# work with a specific sample project
PROJECT_KEY = "DKU_TUT_VARCOD"
project = client.get_project(PROJECT_KEY)

USERNAME = "" # Fill in your username
REPO = "" # Fill in your repo

# get the project git!
project_git = project.get_project_git()

# .. and set the remote
project_git.set_remote(f"{USERNAME}@{REPO}:{PROJECT_KEY}")

# create a new branch
project_git.create_branch('definitely-not-master')
project_git.checkout('definitely-not-master')

# add these variables
project.update_variables({
   "country_name": "Germany",
   "merchant_url": "lidl"})

# commit & push
project_git.get_status()
project_git.commit(message="add project vars")
project_git.push()

# fetch & pull
project_git.fetch()
project_git.pull()
Code 2: Complete recipe code
# -------------------------------------------------------------------------------- NOTEBOOK-CELL: CODE
# -*- coding: utf-8 -*-
import dataiku
import pandas as pd, numpy as np

import io
import matplotlib.pyplot as plt

# -------------------------------------------------------------------------------- NOTEBOOK-CELL: CODE
# Read recipe inputs
ecommerce_transactions_with_ip_prepared = dataiku.Dataset("ecommerce_transactions_with_ip_prepared")
df = ecommerce_transactions_with_ip_prepared.get_dataframe()

# -------------------------------------------------------------------------------- NOTEBOOK-CELL: CODE
country_name = dataiku.get_variables()["country_name"]
df_filtered = df[df['MerchantIP_country'] == country_name]

df_avg_purchase = df_filtered[['PurchaseHour', 'CustomerAge', 'OrderTotal']].groupby(by = ['PurchaseHour',
                                                                                 'CustomerAge'],as_index=False).mean()

# -------------------------------------------------------------------------------- NOTEBOOK-CELL: CODE
fig = plt.figure()
ax = fig.add_subplot(111, projection='3d')

xs = df_avg_purchase['PurchaseHour']
ys = df_avg_purchase['CustomerAge']
zs = df_avg_purchase['OrderTotal']

ax.set_xlabel('PurchaseHour')
ax.set_ylabel('CustomerAge')
ax.set_zlabel('OrderTotal')

ax.scatter(xs, ys, zs)

# -------------------------------------------------------------------------------- NOTEBOOK-CELL: CODE
folder_for_plot = dataiku.Folder("dy9hOjP1")

# -------------------------------------------------------------------------------- NOTEBOOK-CELL: CODE
# Compute recipe outputs from inputs

bs = io.BytesIO()
plt.savefig(bs, format="png")
folder_for_plot.upload_stream("scatter_plot.png", bs.getvalue())
Reference documentation#
|
Handle to manage the git repository of a DSS project (fetch, push, pull, ...) |
|
A handle to interact with a project on the DSS instance. |