

Basic setup: Quickstart with Angular & Vue Templates#
Prerequisites#
Basic understanding of HTML, JavaScript, and Angular or Vue for frontend development.
Some experience with Python for backend operations.
Code Studio Template is already configured on your Dataiku instance.
This tutorial teaches how to rapidly initiate a web application using pre-configured templates. These templates streamline your workflow by auto-configuring a Node server to host your Code Studio browser path while also routing API requests to the exposed Flask backend.
These templates are also designed for smooth deployment as a standard Dataiku web application.
Quick Project Setup with Cookiecutter#
Generating a New Web Application#
In this section, we will guide you through the process of creating a new web application using Cookiecutter. You have the option to choose between two templates, VueJS or Angular, for your web application project.
Navigate to the following directory:
mkdir ~/workspace/project-lib-versioned/webapps && cd ~/workspace/project-lib-versioned/webapps
Execute the following command to instantiate a new project template with Cookiecutter:
cookiecutter gh:dataiku/solutions-contribCookiecutter will then prompt you to select a template:
[1/1] Select template
  1 - Vue (./bs-templates/vue)
  2 - Angular (./bs-templates/angular)
  Choose from [1/2] (1):
Select the desired template by entering the corresponding number (1 for Vue and 2 for Angular).
After template selection, you’ll be prompted to enter specific project parameters:
[1/6] Choose your (Angular / Vue) project name (Angular Project): tutorial
[2/6] version (0.0.1):
[3/6] Choose your client serve port (default 4200) (4200):
[4/6] Choose your flask backend port (default 5000) (5000):
[5/6] dss_instance (default):
[6/6] dku_project ():
“Project Name”: your Angular or Vue project name. Though the example uses
tutorial, you can choose any name.“Version”: the project’s version.
“Client serve port”: port on which your frontend (e.g., Angular) will run. The default is 4200.
“Flask backend port”: port your Flask backend will operate on. The default is 5000.
“DSS Instance and DKU Project”: these fields are generally optional while operating within Dataiku Code Studio. You can safely leave them blank unless you’re configuring an external development environment that necessitates their input.
After entering these details, a new project folder will be generated in the
project-lib-versioned/webappsdirectory.
Following these steps, you’ll successfully set up a new web application, ready for further development and deployment.
Launching the Frontend and Backend#
Once you’ve generated your web application using Cookiecutter, you can proceed to launch the frontend and backend. The process is the same for both Angular and Vue templates.
Launching the Frontend#
Navigate to your project’s directory by replacing
__PROJECT_NAME__with your project folder’s name:cd ~/workspace/project-lib-versioned/webapps/__PROJECT_NAME__
Install the required dependencies:
yarn install
The Code Studio template comes pre-configured with
npm,yarn, andpnpm. You can use any of these package managers to install dependencies. For instance, you can replaceyarn installwithnpm installorpnpm installbased on your preference.Run the frontend server
ng serve --host 127.0.0.1
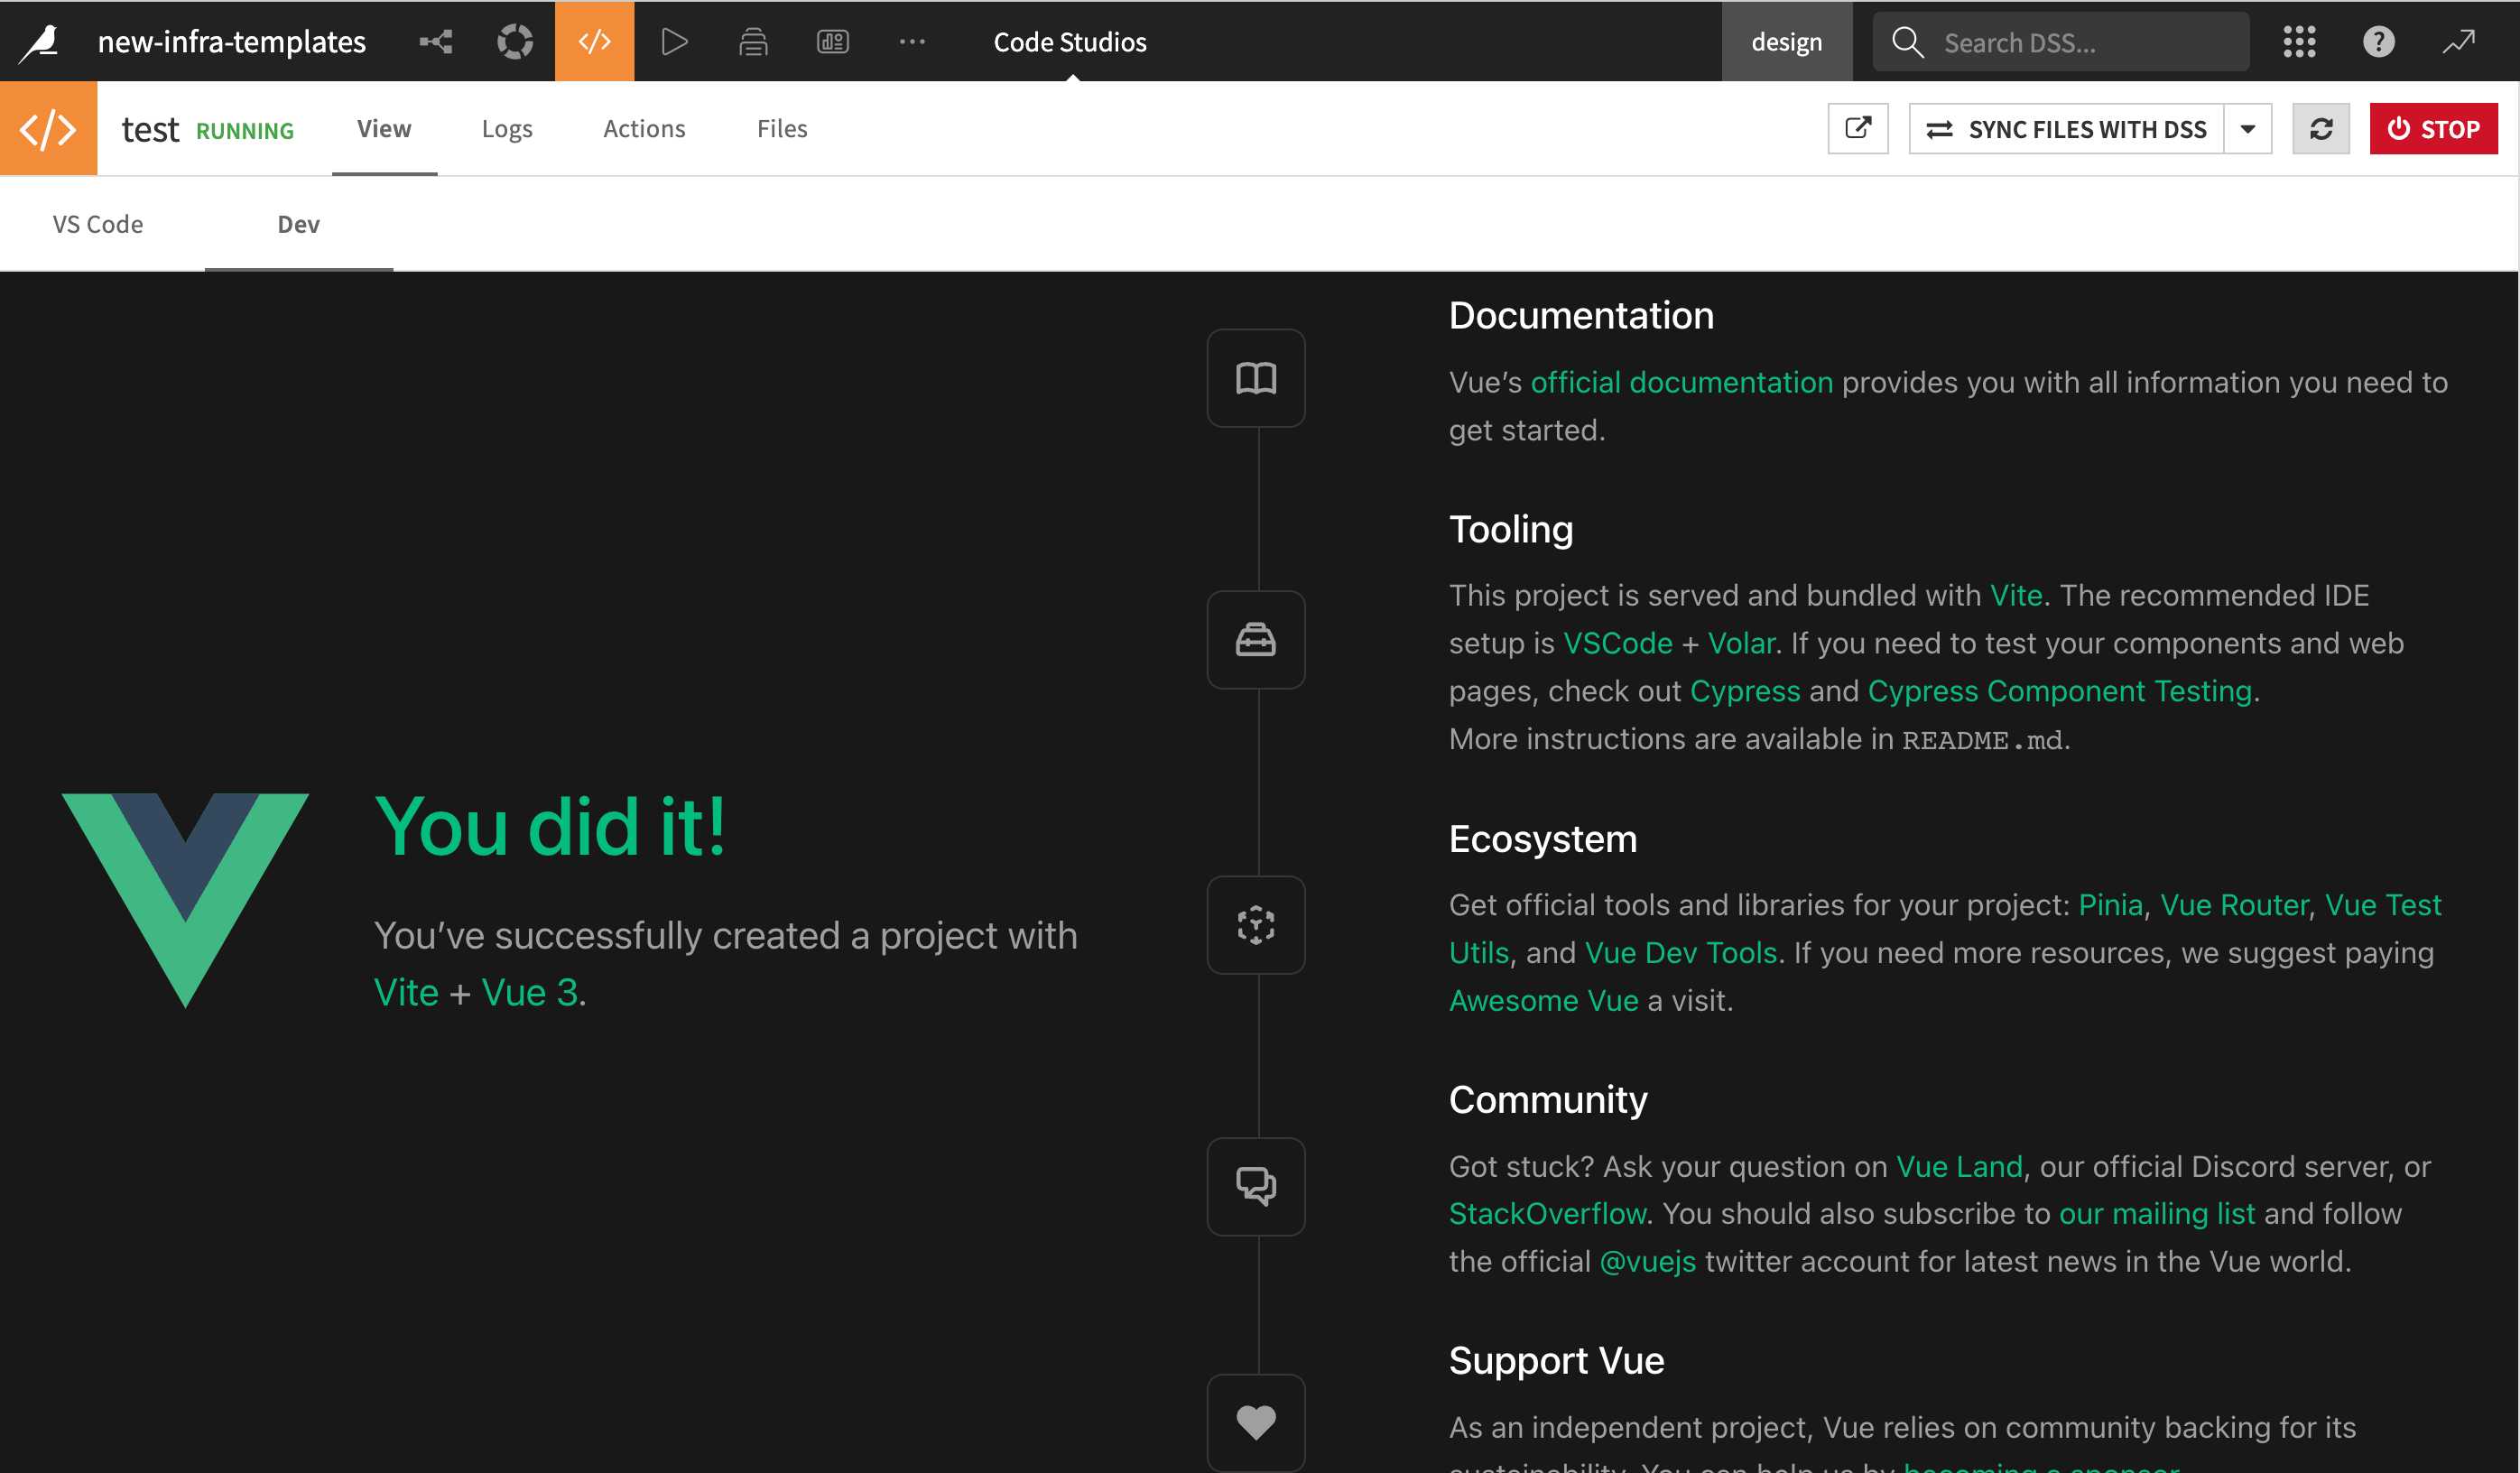
You can now preview the web application in the Dev panel of the Code Studio.
Launching the Backend#
Activate your backend code environment
source /opt/dataiku/python-code-envs/infra37/bin/activate
Navigate back to your project directory (again, replace
__PROJECT_NAME__with your specific folder name):cd ~/workspace/project-lib-versioned/webapps/__PROJECT_NAME__
Execute the following command to launch the backend:
python -m backend.wsgi
By following these steps, you’ll successfully initiate both the frontend and backend of your web application within Dataiku’s Code Studio environment.
Remember that you can choose between Angular and Vue templates for your project, and the instructions for launching the frontend and backend are the same regardless of your choice.