

Creating a sample dataset#
When starting a new project, users might struggle to find or use datasets relevant to your company. To overcome these difficulties, Dataiku introduced a new plugin component, Sample Dataset, in version 14. This component lets you provide datasets to quickly start a project.
Once a sample dataset has been created, every user can find it easily either on an empty flow by clicking the “Browse sample data” (Fig. 1) or in the flow view when clicking the +Add item button and choosing the sample option in the flow (Fig. 2).
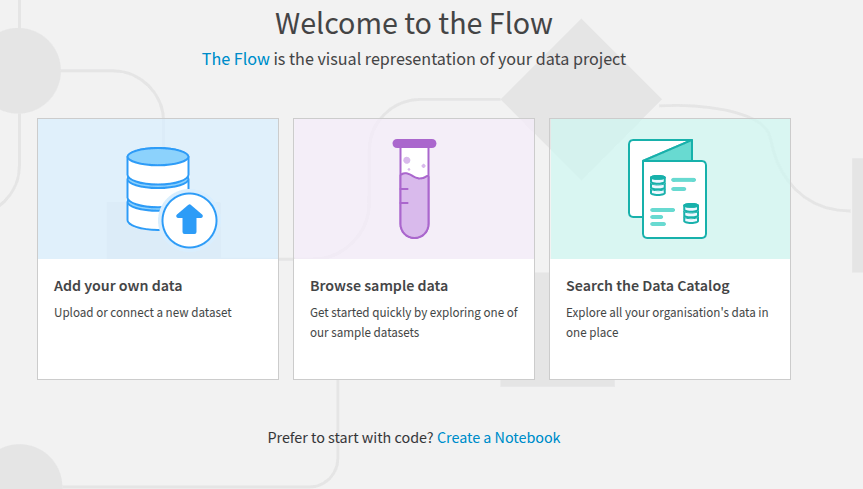
Figure 1: Browse sample dataset.#
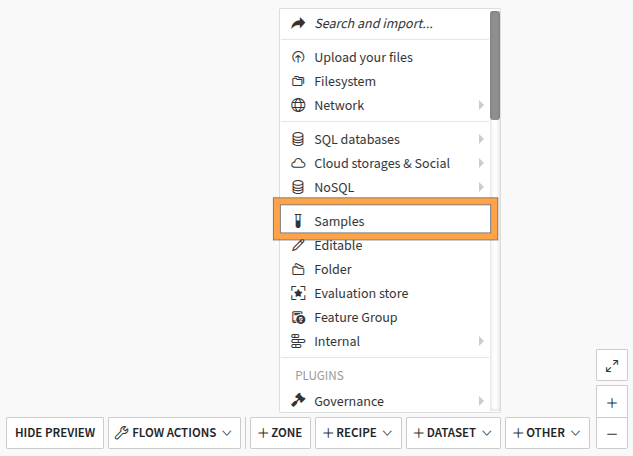
Figure 2: Add dataset samples.#
Whatever your choice, you will end up with a modal that lets the user select a sample dataset (Fig. 3). If you need to provide your users with a new sample dataset, you must develop a sample dataset component in an existing plugin (or a new one).
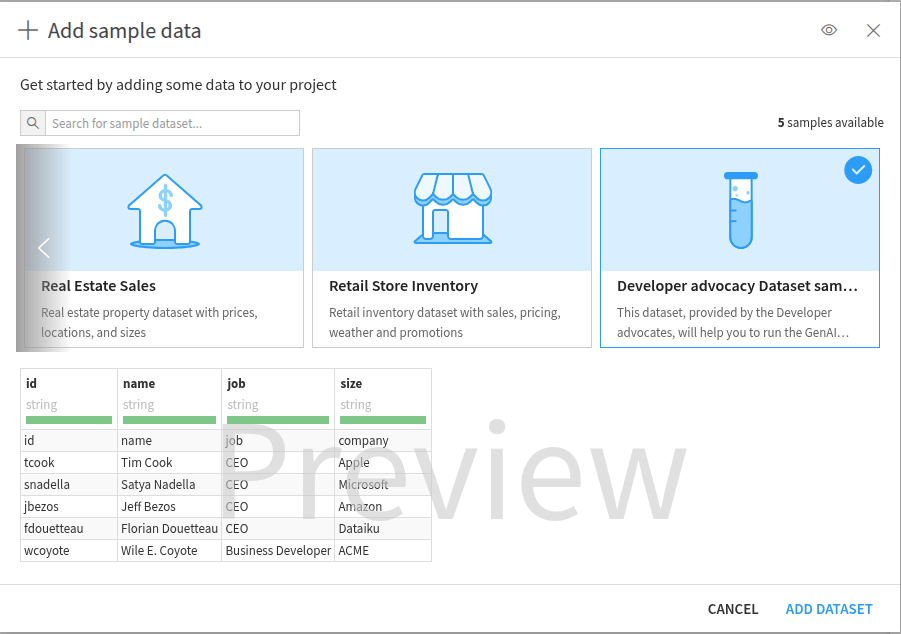
Figure 3: Browse the provided sample dataset.#
This tutorial highlights the different actions needed to develop this component.
Prerequisites#
You have followed the Creating and configuring a plugin tutorial or already know how to develop a plugin.
Dataiku >= 14.0
“Develop plugins” permissions
Creating the plugin environment#
To create a sample dataset, you must first create a plugin. This documentation helps create and configure a plugin. Once the plugin is created, click the New component button and choose the Sample dataset component (Fig. 4).

Figure 4: New sample dataset component.#
Fill in the form by providing a unique identifier, pro-customer, for example, and click the Add button.
This will redirect you to the plugin development environment
within a folder containing the dataset.json (Code 1) global configuration file
folder (data_v1) containing a sample.csv file, and a file config_v1.json, which is the dataset configuration file.
dataset.json#// This file is the descriptor for the sample dataset template tutorials
{
"meta": {
// label: name of the app template as displayed, should be short
"label": "pro-customer",
// description: longer string to help end users understand what this sample is
"description": "",
// icon: must be one of the FontAwesome 5.15.4 icons, complete list here at https://fontawesome.com/v5/docs/
"icon": "fas fa-flask",
// logo: optional displayed logo when selecting your sample
// The logo should be located in the root of the plugin folder, inside a "resource" directory
// For example: my-plugin/resource/my_logo.png
// The logo image should be 280x200 pixels
// The logo filename must only contain letters (a-z, A-Z), digits (0-9), dots (.), underscores (_), hyphens (-), and spaces ( )
// The logo filename extension must be one of the following: ".apng", ".png", ".avif", ".gif", ".jpg", ".jpeg", ".jfif", ".svg", ".webp", ".bmp", ".ico", ".cur"
// "logo": "my_logo.png",
// versions: Available versions of your sample
// Used to update your sample without impacting the existing projects in your instance (for instance because of a dataset change that would break some recipes)
// For every version, a config file (config.json) and a "data" directory should be present, each suffixed with _<your version>
// For instance, for version "v1", you should have a config file "config_v1.json", and a data directory "data_v1"
// versions must only contain letters (a-z, A-Z), digits (0-9) and hyphens (-)
"versions": ["v1"],
// activeVersion: version of your sample to install if several versions are available
"activeVersion": "v1",
// displayOrderRank: number used to sort the various samples by descending order
"displayOrderRank": 1
}
// For every version, your data should be placed in a "data_<your version>" directory where you can include your CSV files (e.g., "sample.csv") encoded in utf-8.
// Your cells have to be separated by commas (,).
// You can use double quotes (") as a quoting character to enclose cells containing the separator, and use backslash (\) as an escape character.
// Additionally, you can use compressed files with the ".gz" extension for Gzip-compressed files (e.g., "sample.csv.gz")
// You can also include multiple files or use zipped CSV files for convenience.
// You can add additional info, like the schema of your sample dataset, in its corresponding config file.
}
Configuring the sample dataset#
The configuration of a dataset sample is done in two separate steps.
The first step is to modify the global configuration file of the dataset sample in the dataset.json file.
The second step is to configure the sample of your dataset.
To configure your sample dataset, modify the meta section of the dataset.json file.
In the meta section,
you will find the usual fields (label, description, icon)
and four specific optional fields (versions, activeVersion, logo, and displayOrderRank).
logo, label, and description are used to display information about your sample dataset when creating it,
as shown in Fig. 5.
If you want to provide a logo, you will need to create a resource folder at the root of your plugin
and upload your image to that folder.
Your logo should ideally be an image of 280x200 pixels, and use one of the following format:
apng, png, avif, gif, jpg, jpeg, jfif, svg, webp, bmp, ico, cur.
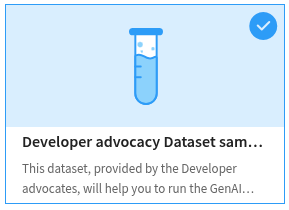
Figure 5: Displaying information of your sample dataset.#
The displayOrderRank determines which position your sample dataset will be presented to the user.
versions is an array of the different versions of your sample dataset.
Having multiple versions of the same sample dataset helps you to provide corporate data,
which can evolve with the time without breaking previous project that where using “old” version of your sample dataset.
The activeVersion just specifies which version of your plugin is being served.
Finally, the icon value is used when the dataset is visible in the flow
(Fig. 6).
If you don’t provide an icon, the plugin icon will be used.
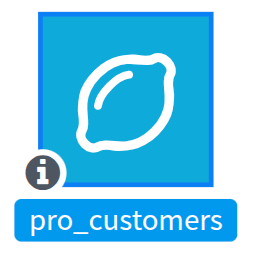
Figure 6: New sample dataset in the flow.#
You may also add a columns array in the global configuration file to describe the schema of your sample dataset.
It works as the columns array used in the versioned configuration file (more information in the next section).
Providing a sample dataset data#
A sample dataset comes with a versioning system.
By default, the activeVersion is v1.
For each version, you must have a dedicated folder (data_<YOUR_VERSION>) which contains the data you want to provide.
You may also have a config_<YOUR_VERSION>.json file in the sample dataset component folder to describe the data.
If you don’t have this file, Dataiku will use the description you may have entered in the global configuration file.
You must have at least one description of your data.
To describe your data, you have to create a columns array.
This array describes the columns of your data, in the same order as the ones in your CSV file.
Each column should have a name and a type.
Optionally, you can provide a comment and a meaning, as shown in the code below.
For the list of column types, please refer to Storage types. For the list of available meanings, please refer to the List of recognized meanings.
{
  "rowCount": 5,
  "columns": [
    {
      "name": "id",
      "type": "string",
      "comment": "Unique identifier"
    },
    {
      "name": "name",
      "type": "string",
      "comment": "Name of the person"
    },
    {
      "name": "job",
      "type": "string",
      "comment": "Position of the person"
    },
    {
      "name": "company",
      "type": "string",
      "comment": "Company "
    }
  ]
}
If you have filled in the rowCount field,
it will also be used when the user glimpses the sample dataset
(Fig. 7).
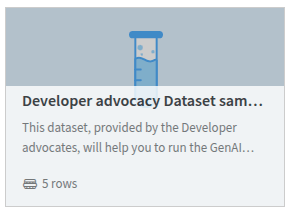
Figure 7: Glimpsing a sample dataset.#
In the data_v1 folder of your sample dataset component,
you can provide several CSV files, respecting the format you have described in the columns section.
Each file will be used to provide data to the user.
Dataiku will concatenate those files to build a unique dataset.
You should not give a header line in your CSV file, as the data is already described.
Dataiku will use the unique identifier you provided while creating the sample dataset component to name the dataset.
For example, if you put the content shown in Code 3 as sample.csv,
you will end up with a dataset that could be used as a starting point for the different tutorials on Agent
(Building and using an agent with Dataiku’s LLM Mesh and Langchain, LLM Mesh agentic applications ).
tcook,Tim Cook,CEO,Apple
snadella,Satya Nadella,CEO,Microsoft
jbezos,Jeff Bezos,CEO,Amazon
fdouetteau,Florian Douetteau,CEO,Dataiku
wcoyote,Wile E. Coyote,Business Developer,ACME
Wrapping up#
Creating a sample dataset in Dataiku is an easy process that improves the user experience for new projects. Following this tutorial’s steps, you will build a sample dataset component tailored to your organization’s specific requirements. This allows quick access to relevant data, empowering users with the necessary resources to begin their analyses.
Here is the complete code of this tutorial:
dataset.json
{
  "meta": {
    "label": "Developer advocacy Dataset sample",
    "description": "This dataset, provided by the Developer advocates, will help you to run the GenAI tutorials.",
    "icon": "far fa-lemon",
  },
  "columns": [
    {
      "name": "id",
      "type": "string",
      "comment": "Unique identifier"
    },
    {
      "name": "name",
      "type": "string",
      "comment": "Name of the person"
    },
    {
      "name": "job",
      "type": "string",
      "comment": "Position of the person"
    },
    {
      "name": "company",
      "type": "string",
      "comment": "Company "
    }
  ]
}
config_v1.json
{
  "rowCount": 5,
  "columns": [
    {
      "name": "id",
      "type": "string",
      "comment": "Unique identifier"
    },
    {
      "name": "name",
      "type": "string",
      "comment": "Name of the person"
    },
    {
      "name": "job",
      "type": "string",
      "comment": "Position of the person"
    },
    {
      "name": "company",
      "type": "string",
      "comment": "Company "
    }
  ]
}
sample.csv
tcook,Tim Cook,CEO,Apple
snadella,Satya Nadella,CEO,Microsoft
jbezos,Jeff Bezos,CEO,Amazon
fdouetteau,Florian Douetteau,CEO,Dataiku
wcoyote,Wile E. Coyote,Business Developer,ACME