

Leveraging a custom tool in a Visual Agent
In this tutorial, you will learn how to build a Simple Visual Agent that uses tools. Those tools can be default ones (provided by Dataiku) or custom ones (provided by plugins). This tutorial will use the custom tools defined in the Creating a custom tool tutorial. However, if you haven’t followed that tutorial but already have tools to use, you can leverage this tutorial to meet your requirements.
Prerequisites
Dataiku >= 13.4
Tools already added in Dataiku. Those tools should be visible in the Agent Tools menu from the GenAI menu.
If you do not yet have the tools available, follow the Creating a custom tool tutorial.
Creating a Simple Visual Agent
To create a Visual Agent, go to the Flow, click the Add item button, select the Generative AI menu, click Visual Agent, select Simple Visual Agent, enter a name, and click the OK button. Alternatively, you can select the Agents item in the GenAI menu, click the New Agent button, and select the Simple Visual Agent option. You should land on a page similar to the one shown in Figure 1.
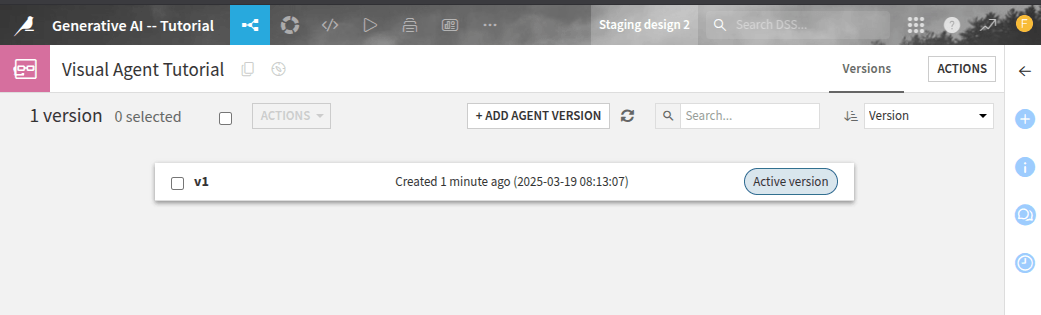
Fig. 1: Simple Visual Agent created.
This page shows the standard configuration of a Simple Visual agent. First, select an LLM and add the Get Customer Info and Get Company Info tools to the agent. The resulting configuration is shown in Figure 2. For configuration, you could enter the following description in the Instructions field.
Give all the professional information you can about the customer with ID: {customerID}.
Also, include information about the company if you can.
For the Get Customer Info tool, click the cogwheel next to the tool and enter the following text in Agent Specific Settings:
Use this tool to retrieve information about a customer with its ID.
The expected output is a sentence where you will have the customer's name, position, and company.
For the Get Company Info tool, click the cogwheel next to the tool and enter the following text in Agent Specific Settings:
Use this tool when you need to retrieve information about a company.
The input is the company's name, and the output is a small company recap.
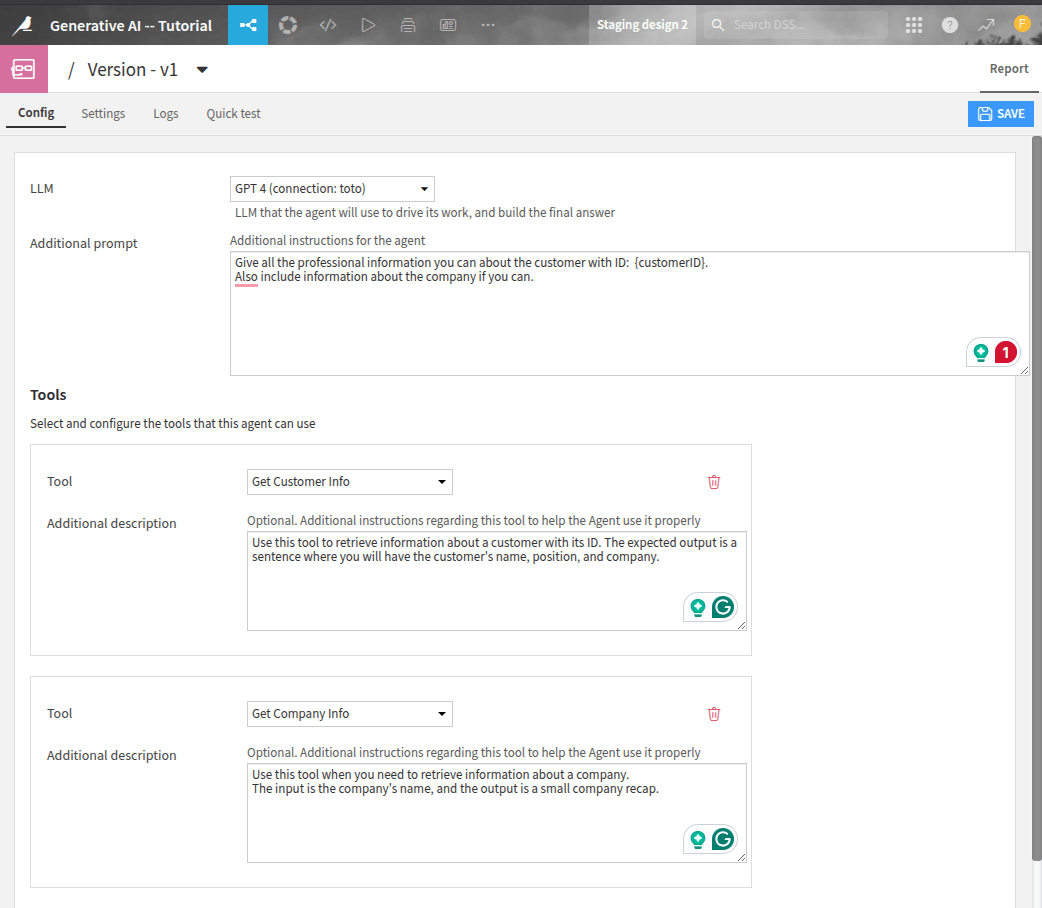
Fig. 2: Visual Agent’s configuration.
Testing the Agent
To test the agent, open the Test Query tab on the bottom right or use Chat, and request information about fdouetteau.
The result of this agent execution is shown in Figure 3.
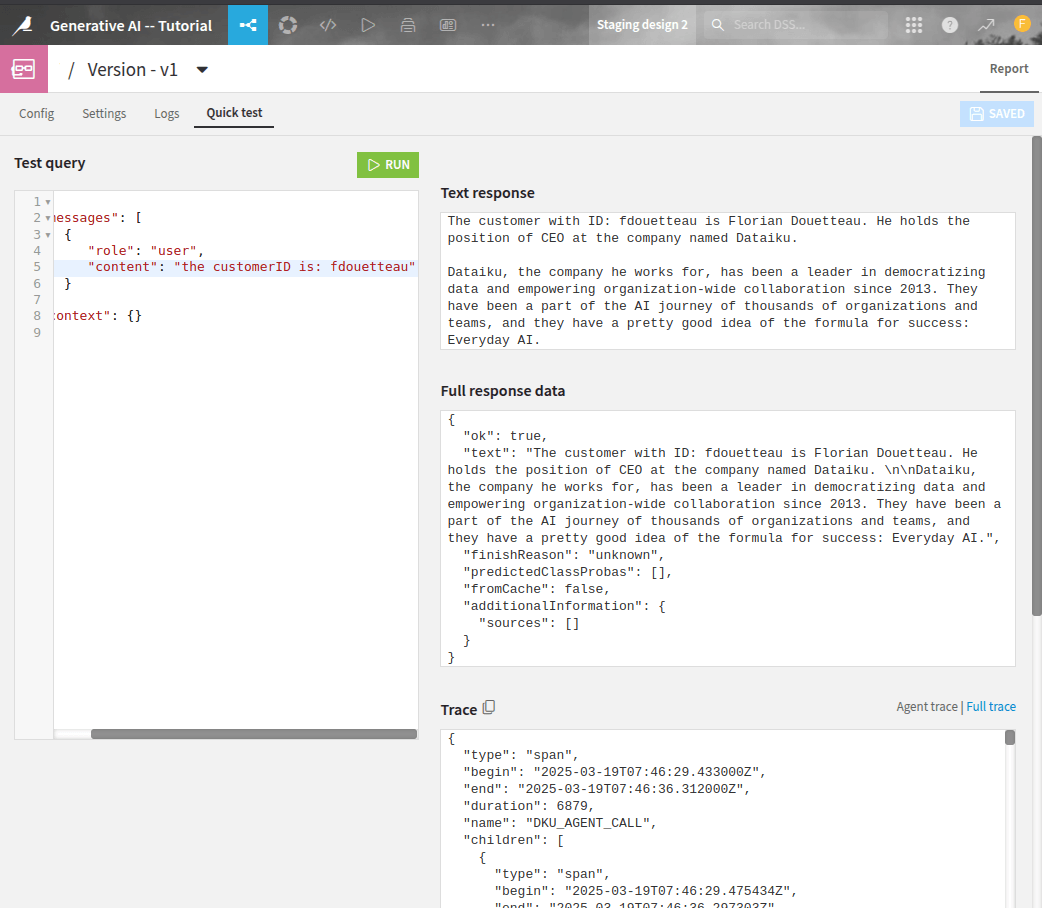
Fig. 3: Testing the Simple Visual Agent.
Wrapping up
Congratulations! You now know how to build a Simple Visual Agent that relies on custom tools to answer a query. Once your tools are well defined, you can combine them in different agents to suit your needs.