

Using a code assistant in Code Studios: Codex#
This tutorial teaches you how to add the Codex assistant to help you write code. You can start by creating your first Code Studio. We will guide you through the needed steps to empower your Code Studio with this assistant.
Prerequisites#
Dataiku >= 14.5
Administrator privileges for your user profile.
The Codex for Code Studios plugin must be installed.
OpenAI API key or ChatGPT credentials
Note
The Codex for Code Studios plugin needs to be installed. See the reference documentation for more information on installing plugins.
Adding Codex to a Code Studio#
Creating a Code Studio Template#
In your Dataiku instance, choose Administration from the Applications menu.
Navigate to the Code Studios tab.
Click the + Create Code Studio Template button.
Type a name for your template, such as
codex-template, and then select Create.Click on the Definition tab.
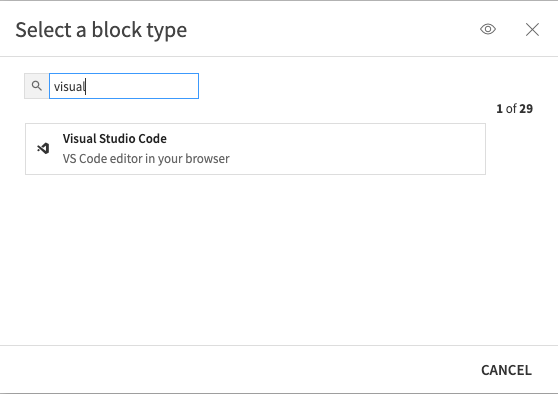
Adding the Visual Studio Code block#
Use the + Add a Block and select the Visual Studio Code block.
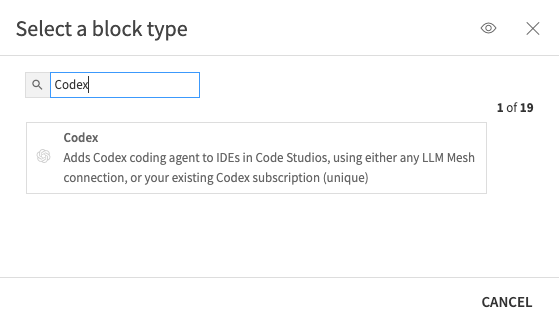
Adding the Codex Code block#
Use the + Add a Block and select the Codex block.
Defining settings#
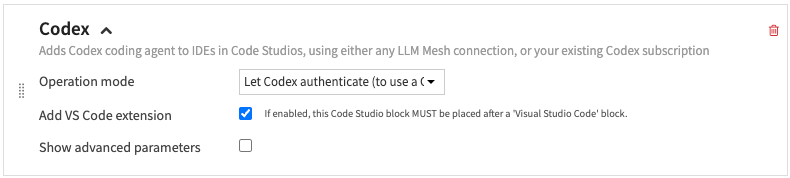
Operation mode#
The choice of your operation mode will determine how you authenticate with your Codex model.
The options Route queries through Dataiku LLM Mesh, Connect to OpenAI using the credentials of a Dataiku connection, and Manually enter an OpenAI API key will allow you to define a specific connection and model.
The option Let Codex authenticate (to use a ChatGPT subscription) will allow you to use models from your ChatGPT subscription. With this option, you will need to authenticate each time you launch Code Studio.
For this tutorial, we will try the first option (LLM Mesh) and the last option (ChatGPT subscription plan).
VS Code extension#
Selecting the Add VS Code extension checkbox will install the Codex – OpenAI’s coding agent extension. If you decide to keep the checkbox unselected, you will use Codex as a terminal tool.
Advanced parameters#
Selecting the Show advanced parameters checkbox will allow you to add advanced parameters to your Codex usage.
Custom Managed Config: Use it to add all the custom settings. It must be valid TOML, see https://developers.openai.com/codex/config-basic.
Codex CLI version: use it if you need to set a specific version of Codex CLI.
VS Code extension version: use it if you need to set a specific version of the dedicated Visual Studio Code extension for Codex.
Building the template#
You can now build your Code Studio image to use it. To do so, use the Build button. If you need more details on building a Code Studio template, refer to the tutorial My first Code Studio.
Using Codex in your Code Studio#
From your project, use the Code Studios from the Code menu to create and launch your Code Studio based on the template you defined. If you need detailed steps, the Launching your first Code Studio documentation will guide you.
Starting Codex extension#
You need to click on the Codex button on the upper right of your Code Studio.

Authenticating#
If you choose the Route queries through Dataiku LLM Mesh, Codex is ready to use. When you click the Codex button, it opens the Codex assistant interface, and you can start using it.
If you choose the Let Codex authenticate (to use a ChatGPT subscription) option in your settings, you will need an extra step to use Codex. When you click the Codex button, your will see several ways to log in. Click on More options to have the full list.
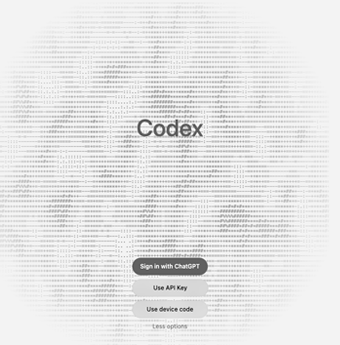
Click on the Use device code option. This will show a device code and open a new window. The new window will allow you to authenticate with your account and the device code shown.
Note
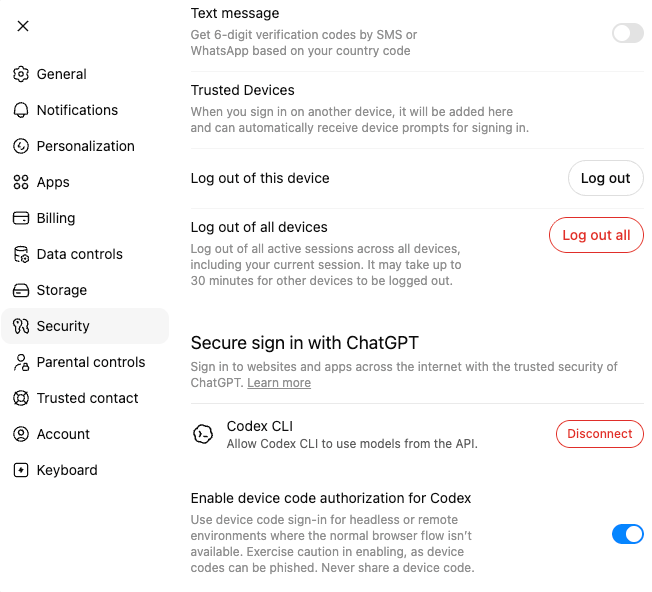
Depending on your ChatGPT subscription, you may need to enable the Security settings called “Enable device code authorization for Codex”.
Using Codex#
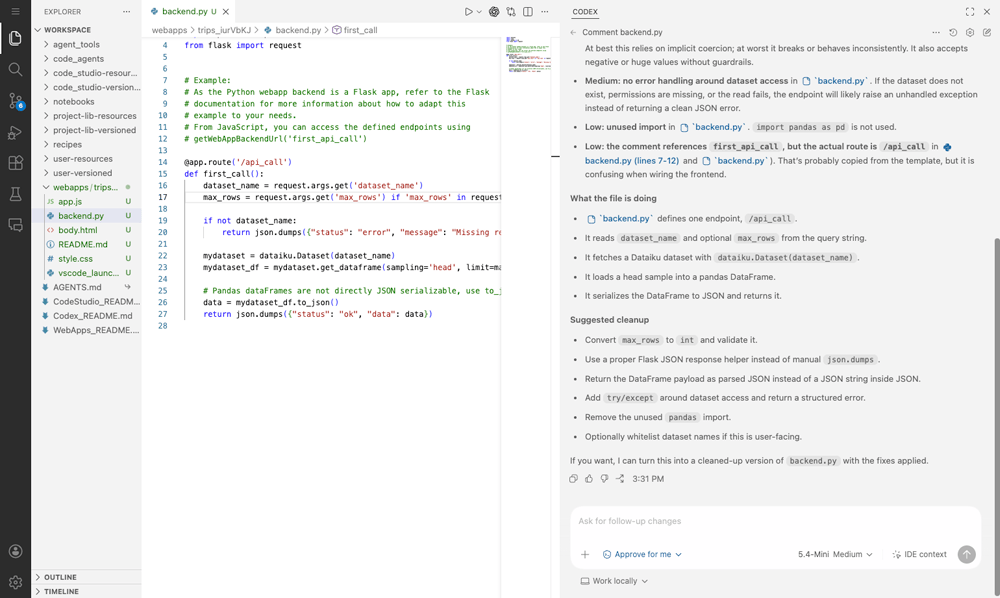
At this point, your Code Studio is fully operational, and you can start using your environment to code with the assistance of all the features in Codex. You can find additional information on the usages of Code Studios in edit your code or in edit your Code Agent.
Wrapping up#
Congratulations, you’ve learned how to set up and launch a Code Studio in Dataiku that provides access to Codex.