

Best practices with code assistants#
Using a code assistant can be a huge accelerator for your projects and a powerful addition to your developer toolbox. This document lists a few practices that will improve your workflow and the result of your work with a code assistant.
Starting with a plan#
The development activity always starts with some tinkering and planning. Take some time to draft a plan of what you want to achieve and discuss each step with the code assistant. Ask the code assistant to save the output of this conversation as a dedicated file: a common practice is to use a file named plan.md. Try to define small steps and plan to write corresponding tests to validate the implementation.
Iterating on simple steps#
Ask the code assistant to follow the plan and implement one simple step. An iterative process will make control and validation easier. Keeping the context a very specific task will reduce the amount of unexpected output. Always test and review each iteration. Once you are satisfied with the result, keep track of the progression with the plan file.
Controling the modifications#
If you follow a plan and iterate in small steps, the modifications will be easier to control and review. You should track each meaningful modification through a dedicated commit with an explicit message.
Using Git will also allow you to review and potentially revert changes if you decide you need to rework the current step. The goal is to have a tool to analyze changes, not to synchronize the files in your Dataiku project. For information on this topic, you can read the Editing & Debugging Code with VS Code tutorial.
Preparing the repository#
If you are not already using git, you can use it solely to help review the code modifications made by the code assistant. From the Visual Studio Code menu, open Terminal and choose New Terminal. You will then:
Initialize the repository:
git initConfigure the user:
git config --global user.name "John Doe"Configure the email:
git config --global user.email johndoe@example.comCreate a
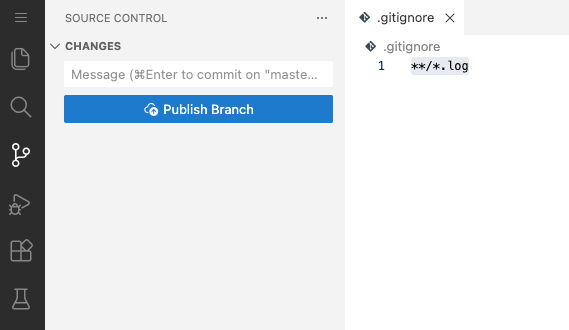
.gitignorefile:touch .gitignoreAdd a line in .gitignore file:
**/*.logTrack all the existing modifications:
git add .Create a commit:
git commit -m "preparation"
Your Visual Studio Code source control view should be empty now.
Making code modification#
At this point, you can start working with your code assistant. When a step modifies your code, the code assistant will usually ask for your permission to modify some files, and you can review them before accepting the changes. You will find below an example with Claude Code after requesting the creation of a new route in a web application endpoint.

Reviewing and reverting changes#
Whether you accepted the modifications or your code assistant was in a mode that allowed it to do so automatically, you now have modifications in potentially several files. You can review the changes using the Visual Studio source control view.
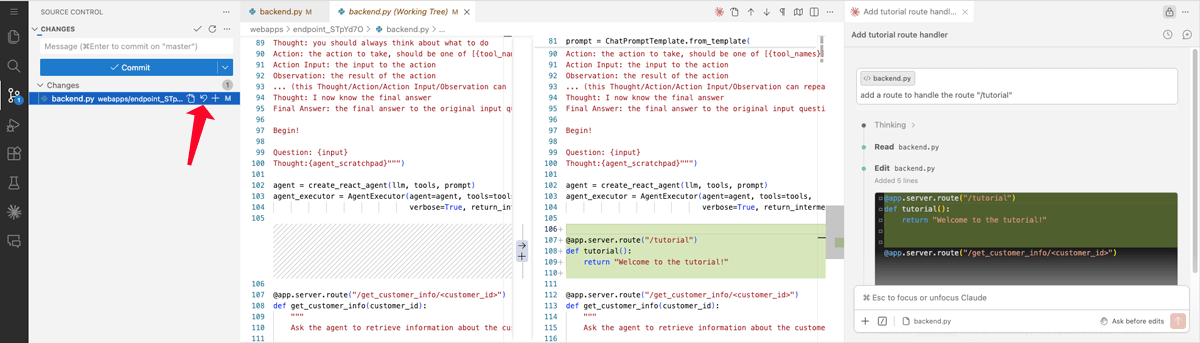
By clicking any modified file, you will open a review pane that lets you decide whether the modifications are valid for your use case. If you need to revert to the previous state, select the files and click the Discard Changes button.