

Using a code assistant in Code Studios: OpenCode#
Once you have created your first Code Studio, you can start working on your project. This tutorial teaches you how to add the OpenCode assistant to help you write code. We will outline the steps required to achieve this capability in your Code Studio. Then, we will check that OpenCode is operational and see basic actions with the assistant.
Prerequisites#
Dataiku >= 14.3
A Code Studio template, as defined in the tutorial My first Code Studio, for example.
One or more LLM connections to access models with code assistance capacities
Adding OpenCode to a Code Studio#
Working in a Code Studio with Visual Studio Code is the first goal you reached with the tutorial My first Code Studio. To enhance your development abilities, you may need to use a code assistant and work with a tool like OpenCode. Let’s discover the steps to get there.
Adding the OpenCode block#
In your Dataiku instance, choose Administration from the Applications menu. Navigate to the Code Studios tab and select the Code Studio you want to use.
Navigate to the Definition tab, where you select the blocks you want to use in your Code Studio.
You may use an Add Code Environment block to select a precise Code Environment.
This is also where you will see the Visual Studio Code block which brings the IDE to your Code Studio.
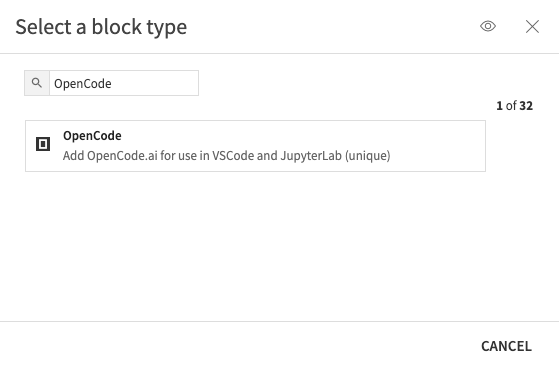
Use the + Add a Block and select the OpenCode block.
Defining settings#
You will be able to select the way the OpenCode agent will work.
The first and second settings are linked. Depending on the value you choose for Choose which model/models to use, the second setting will have a different meaning.
For plural values, a third setting will appear.
The table below summarizes the possible values and their meanings.
Choose which model/
models to use
|
||
|---|---|---|
Allow a single model |
Model id |
LLM Mesh model id |
Allow a list of models |
Model ids |
List of LLM Mesh model id |
Default model id |
Default id from the list |
|
Allow all models of
a single connection
|
Connection name |
Name of the connection to allow |
Default model id |
Default id from the list |
|
Allow all models from a list
of connection types
|
Restrict do LLM
connections types
|
Choose values in the dropdown
OpenAI, Anthropic, Cohere…
|
Default model id |
Default id from the list |
|
Allow all models that
the user can use
|
Default model id |
Default id from the list
of authorized models
|
Do not connect OpenCode to the LLM Mesh. Only use OpenCode builtin models |
||
The other settings are not dependent on the first one.
Apply context window and max output tokens for each model: when checked, it will apply the values found on https://models.dev, an open source database that contains information on AI models.OpenCode version: specify the version you want to use, or leave it empty to use the latest version.Add VS Code extension?: when checked, the OpenCode extension will be added to VS Code. You must place aVisual Studio Codeblock before.VS Code extension version: if you decide to use the VS Code extension, you can specify a specific version here or leave it blank to use the latest.
Building the template#
You can now build your Code Studio image to use it. To do so, use the Build button. If you need more details, refer to the Build the template section in the tutorial My first Code Studio.
Using OpenCode in your Code Studio#
In the project, you want to use OpenCode. To do this, use the Code Studios from the Code menu to create and launch your Code Studio based on the image and template you defined. If you need detailed steps, the Launching your first Code Studio documentation will guide you.
Launching OpenCode#
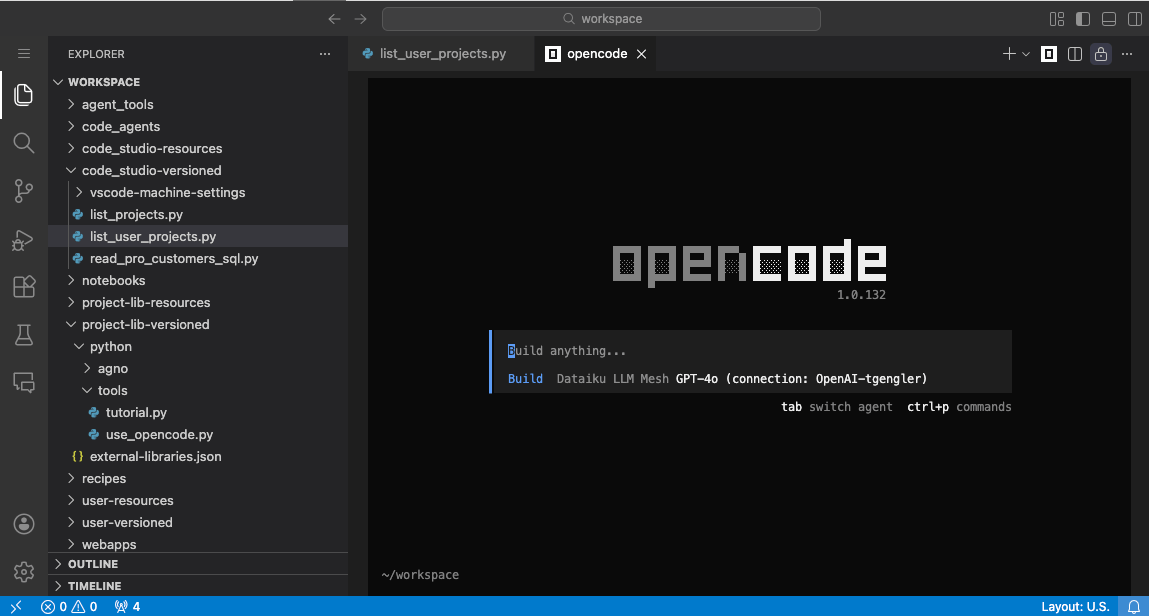
OpenCode can be used in any terminal in your Code Studio. You can launch it with the command opencode.
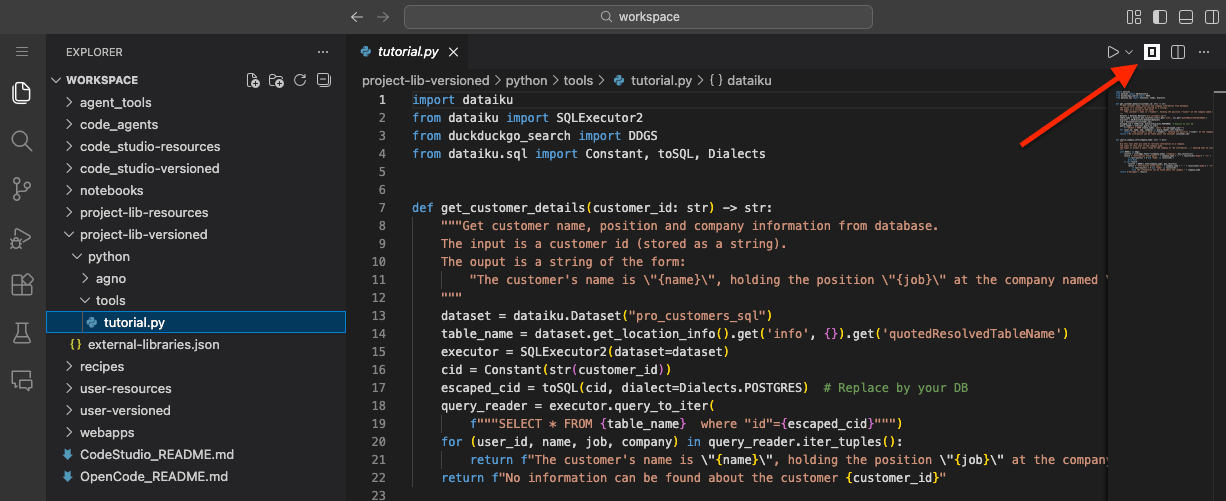
You can also launch OpenCode once you have a file open in the editor. You will have a dedicated button to launch OpenCode in a new terminal window.
Using OpenCode#
Once you have a window with OpenCode, you can start prompting what you need to work on. To learn how to use OpenCode, take some time to read the OpenCode documentation.
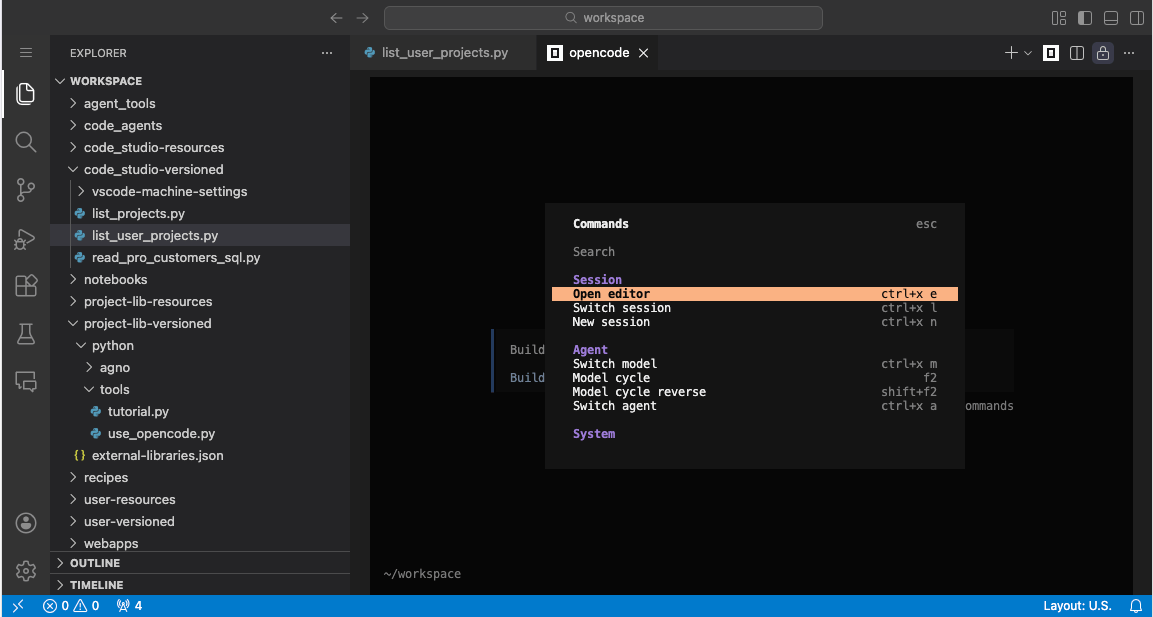
All the available commands and their shortcuts are available using ctrl+p
Wrapping up/Conclusion#
Congratulations, you’ve learned how to set up and launch a Code Studio in Dataiku that provides access to OpenCode.